

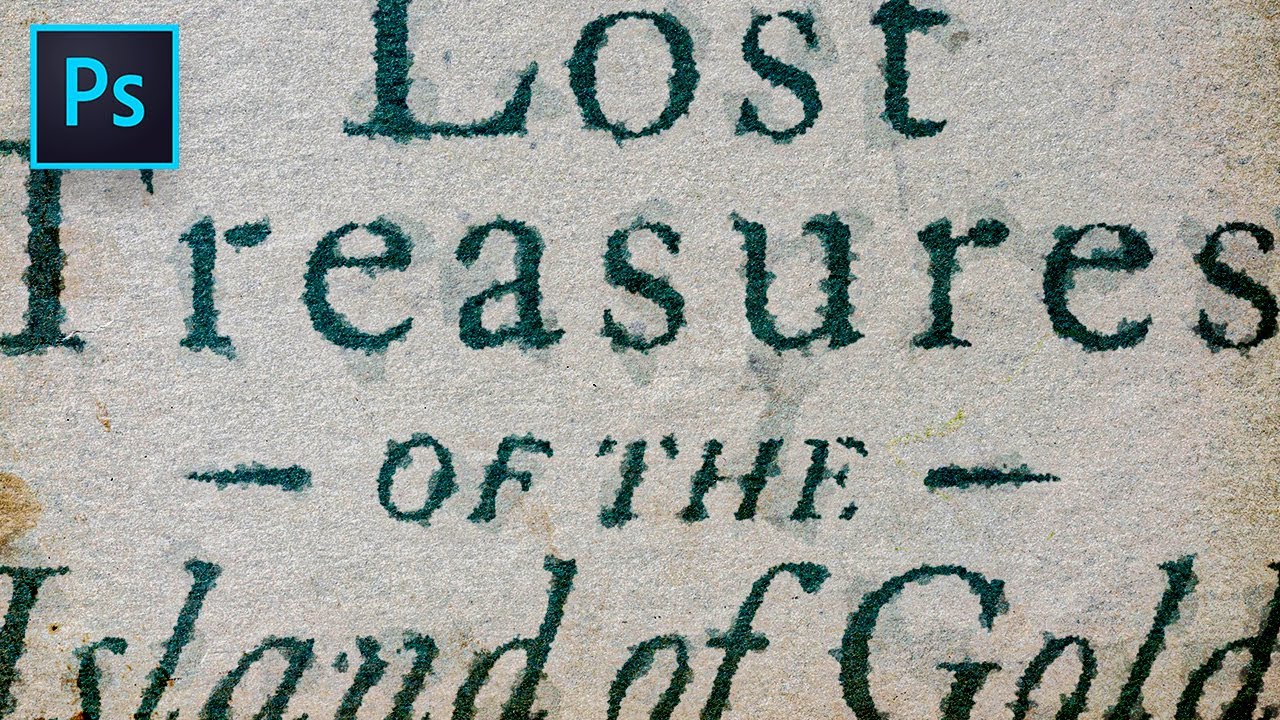
For everything from a subtle worn-in effect to a heavily distressed text look, this quick and easy approach makes a great jumping off point. Step by step instructions and free textures linked below!
FREE TEXTURES USED IN THIS TUTORIAL:
HUGE LIBRARY OF FREE TEXTURES:
FONT USED IN THIS TUTORIAL:
https://fonts.adobe.com/fonts/ltc-caslon-pro
CONNECT:
Facebook – https://www.facebook.com/texturelabs
Instagram – https://www.instagram.com/texturelabs
STEP BY STEP INSTRUCTIONS:
Starting point: Live type layers and paper texture background (linked above).
1- Cmd/Ctrl click on the layer icon of a text layer to make a selection in the shape of the text.
2- Shift Cmd/Ctrl click on the layer icon of any additional text layers to add to the selection.
3- Turn off visibility of live text layers.
4- With the selection still active, create a new Solid Color layer (found in the fill and adjustment layers menu at the bottom of the layers palette). Set the solid color to black.
5- Making sure the mask of the solid layer is selected, use Filter→Pixelate→Crystalize set to 5px.
6- Right click on the mask and use Select and Mask.
7- In the global refinements section, turn Smooth up to about 40 and Contrast up to about 50. For any strange artifacts, try turning Feather up very slightly. Press OK.
8- Change the blending mode of the Solid layer to Color Burn.
9- Double click on the Solid Layer’s icon to change the color (color used in this tutorial is R87 G107 B111).
10- With the mask of the Solid Layer still selected, use Filter→Pixelate→Crystalize set to 20px.
11- Immediately after applying Crystalize, use Cmd/Ctrl Shift F to fade the filter.
12- Set the fade opacity to 60% with blending mode set to Screen.
13- Apply Filter→Pixelate→Crystalize again, set to 60px.
14- Use Cmd/Ctrl Shift F to fade the filter, with the opacity at 15% and the blending mode set to screen.
15- Apply Filter→Pixelate→Crystalize one last time, set to 5px.
source


